

The 10-Step Workflow: How to Make a Manga Step-by-Step
Stop Drawing "Pictures." Start Building "Volumes."
Most amateur manga creators approach a project like an illustrator: they draw a cool picture, then another, then another. This is the fastest way to burn out.
Professional mangaka in Tokyo don't "draw" manga; they produce it. They follow a rigid, 10-step pipeline that ensures the story is solid before the first line is inked. If you want to finish a 200-page volume without losing your mind, you need to follow the pipeline. Here is the Sketchflix-approved workflow from concept to print.
Phase 1: The Blueprint (The Architecture)
Step 1: The Core Concept (The Engine)
Before you touch a pencil, you define the "Want" and the "Pressure." What does your character want, and what is stopping them? Use the Manga Theme Finder to ensure your story has a "Vertical" soul.
Step 2: The Script (The Roadmap)
Write out your story by page and panel. Don’t worry about dialogue yet; focus on the beats. If the "Reveal" doesn't happen on an even-numbered page (the page turn), fix it here.
Step 3: The "Name" / Storyboard (The Skeleton)
This is where the magic happens. Draw rough, stick-figure sketches of every page. Solve your eye-flow and panel pacing now.
Pro Rule: If the story doesn't work as a "Name," it won't work as a masterpiece.
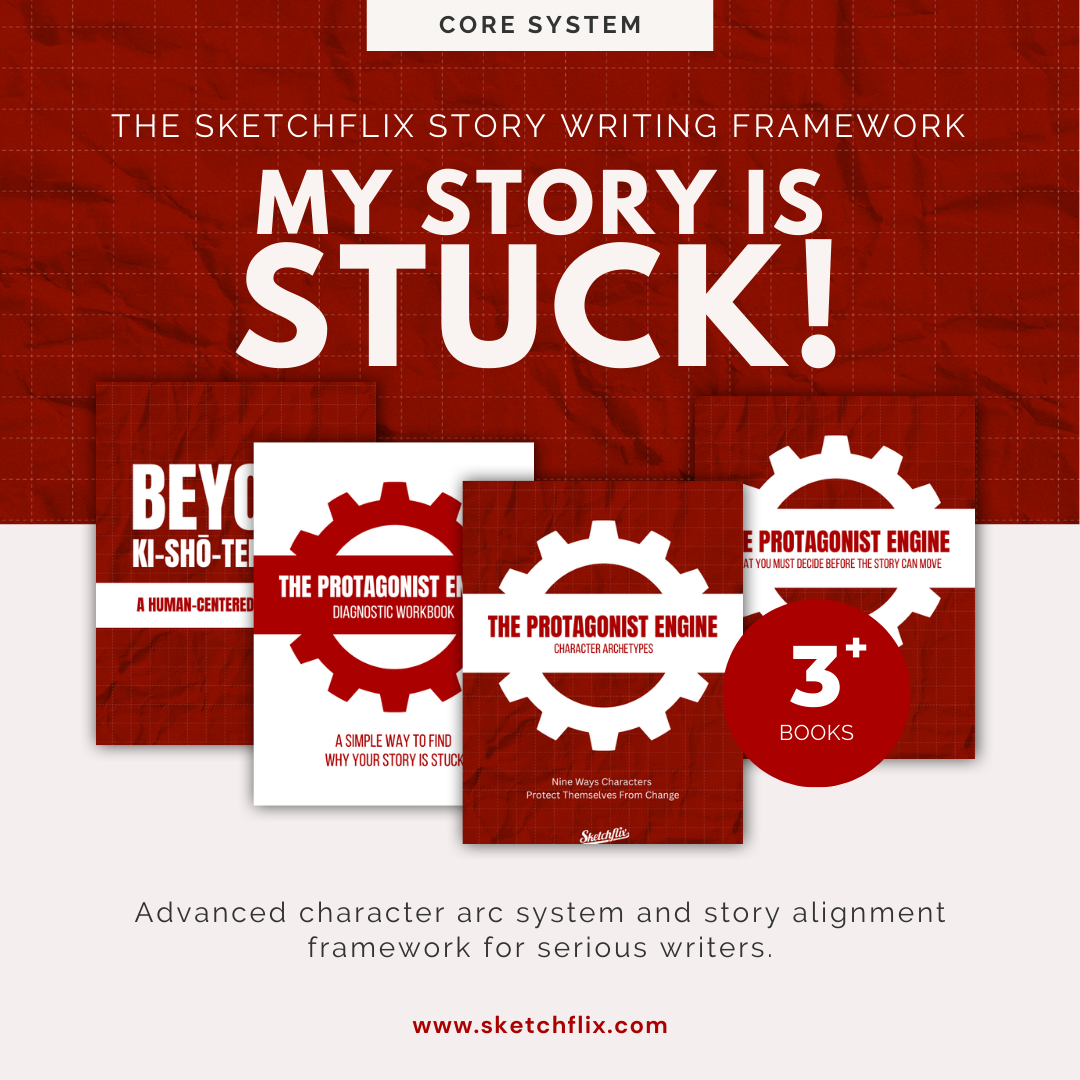
When you understand storytelling but your protagonist still refuses to transform, the issue is rarely plot.
This bundle provides the full character alignment layer: protection identification, resistance patterns, and structural pressure mapping.
Includes the Protagonist Engine framework, archetype breakdowns, story logic integration, and the Diagnostic Workbook.
Designed for serious writers who want clarity instead of hacks.
Inside, you’ll learn how to:
see what your protagonist is actually protecting
understand why pressure isn’t forcing change
recognize different resistance patterns instead of misdiagnosing them
stop rewriting scenes that are already doing what they’re designed to do
This is not a plotting system. It’s a diagnostic framework for understanding why change isn’t happening.
Phase 2: The Construction (The Heavy Lifting)
Step 4: Manuscript Preparation
Set up your digital canvas or tape down your physical paper. Use B4 for professional submissions and A4 for indie work. Ensure your Safe Zones and Bleed Lines are marked.
Shortcut: Use my Manga Manuscript PDF to skip the math and get straight to the art.
Step 5: The Pencil (The Roughs)
Refine your "Name" sketches. This is where you focus on anatomy, perspective, and composition. Keep your lines loose—you’re still "building," not "decorating."
Step 6: Inking (The Finality)
The point of no return. Whether you’re using a G-Pen or a digital Vector Layer in Clip Studio, this is where you commit to the line. Focus on line weight—thick lines for weight/shadow, thin lines for light/detail.
Phase 3: The Polish (The Presentation)
Step 7: Backgrounds & 3D Assets
Don't draw every brick by hand. Use 3D models or perspective grids to build your world. Remember: The background should support the character's emotion, not distract from it.
Step 8: Tones & Shading
Apply your screentones to create depth and mood. In digital manga, less is more. Don't over-render; let the black-and-white contrast do the talking.
Step 9: Lettering & Onomatopoeia
Place your dialogue bubbles. Leave "breathing room" so the text doesn't feel cramped. Hand-draw your SFX (Onomatopoeia) to make them feel like part of the art.
Step 10: The Export & "Flatten"
The final technical check. Export at 600dpi for print or 72-150dpi for web. Check your bleeds one last time. You are now officially a manga creator.
The Professional Production Kit

Bring your ideas to life with this collection of five clean, easy-to-use storyboard templates designed for artists, filmmakers, YouTubers, and creative storytellers.
Whether you’re planning a short film, mapping out your next YouTube video, or sketching a manga sequence, these templates give you the structure you need to move from idea to visual plan—fast.
Crafted with a director’s eye and an artist’s sensibility, each template helps you stay organized, tell clearer stories, and communicate your vision with confidence. No more messy sketchbooks or scattered notes—just a smooth, intuitive workflow that turns inspiration into production.
Want to follow this pipeline with the exact tools I use? I’ve bundled my Storyboard Sheets, into one "Storyboard Pack" to help you move through these 10 steps 2x faster.